
Hey, this post contains Amazon affiliate links, and as an Amazon Associate I earn from qualifying purchases.
Before we get into it, three important things.
- If you are weird about feet, this post is not for you.
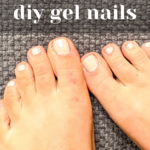
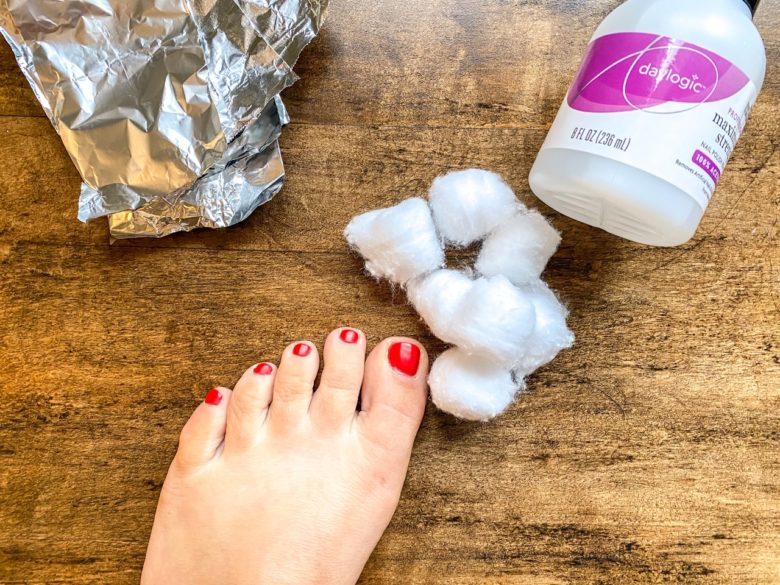
- If you are cool with feet, good news, I shaved my toes for you and everything.
- I’m living that fading out spray tan life, so pardon the orange splotches.
I am the worst person to take to a nail salon.
I paint my nails never. In fact, I keep them super short and plain like a toddler.
Toe nails, sure. But nothing on my hands. I am just too clumsy and I pick at everything and constantly put my hands in my mouth.
But then my friend Kelly surprised me with a gel pedicure for my birthday, so I shaved to as far as my pants would roll up and went into it with mediocre expectations.
Holy shit.
It stayed, like, forever.
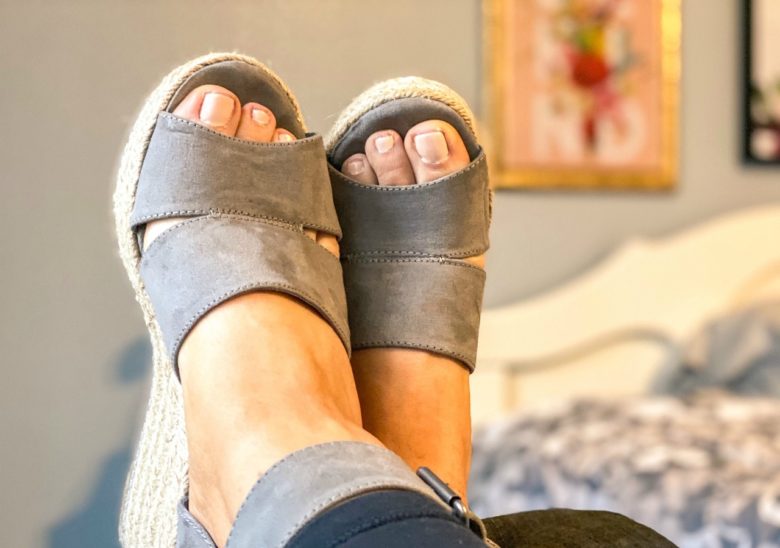
I ran into furniture, dropped stuff on my feet, and never wore shoes; and there it was- perfect.
In fact, the gel stayed unchipped and perfect until I finally had to remove it because of grow out.
But here’s the thing, I cannot keep paying over $80 for a gel polish change in a salon, let alone find time to do it.
Enter my amazing friend Krista, who was like, whoa you can do this, like, at your house, so take your pants off and live your life, girl!
Krista was my sherpa, leading me through all the products and steps to this introvert’s wet dream gel pedicure.
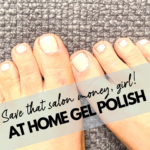
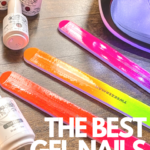
That’s right, you can give yourself a super easy and amazing gel manicure and pedicure in your house.
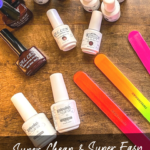
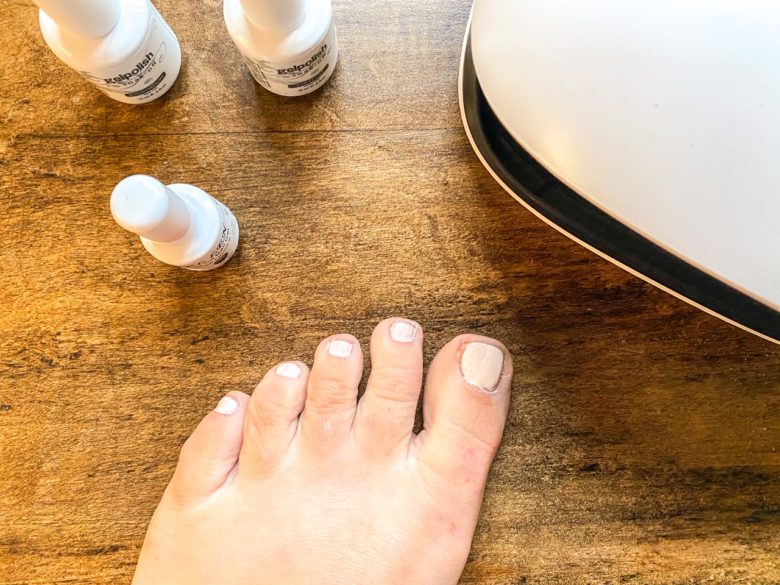
Gel polish, foundation and top coats, a nail file, and a gel light lamp dryer.
Invest in this stuff once, and you’re good to go for a while.
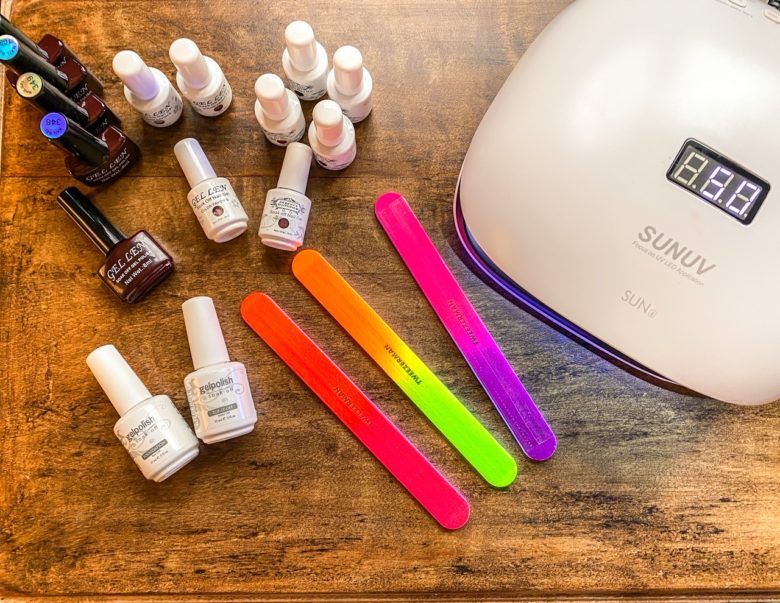
Here’s what I use:
- A coarse nail file
- SUNUV 48W UV LED Light Lamp Nail Dryer
- For a glossy top coat: Arte Clavo Gel Primer Base Coat & No Wipe Top Coat
- For a matte top coat: Gellen No Wipe Matte Top Coat
- UV LED Gel Nail Polishes, I’ve had great results with: Gellen and Perfect Summer brands.
I have saved literally hundreds of dollars from this small investment, and it’s super easy.
How to Apply Gel Polish
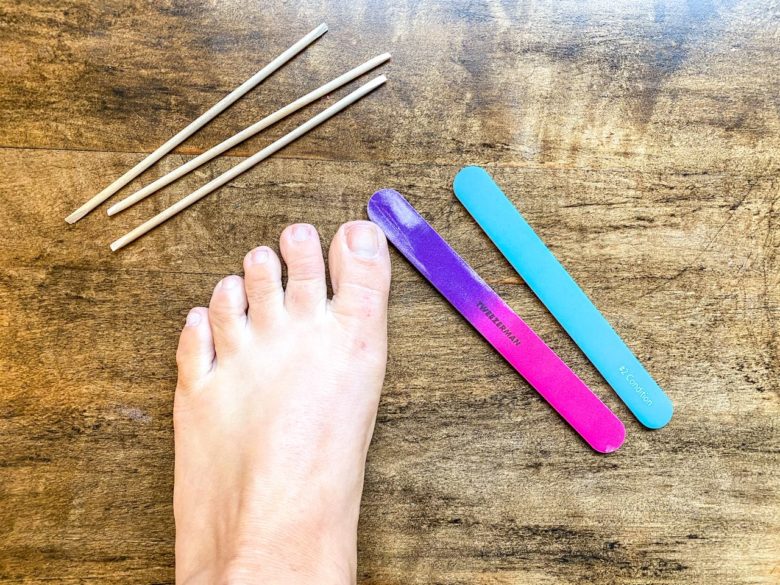
Step 1: File your nails.
You need to make sure your nails are clean and polish free, and then using a nail file, rough them up a bit.
Much like the way you sand furniture before painting it, you need to give the gel something to grab on to.
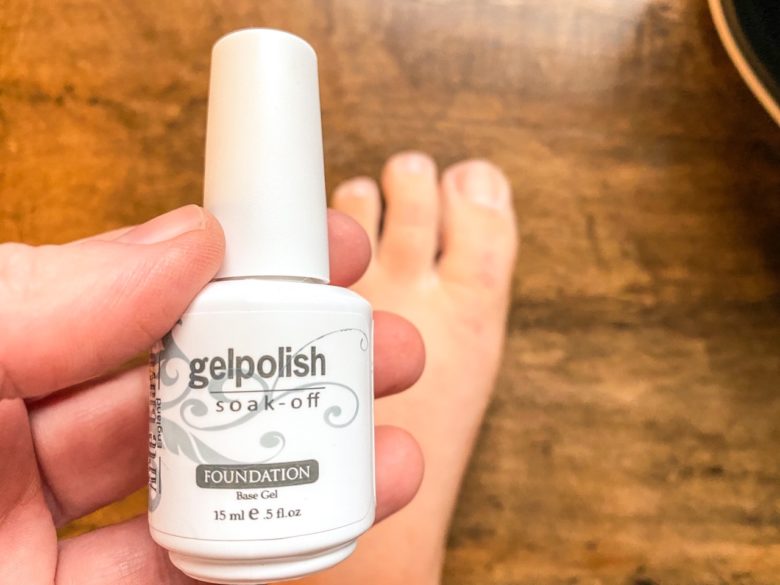
Step 2: Foundation
Apply a thin layer of foundation on each nail. You need to make sure to cover the nail completely, and make sure it’s not on the skin around your nail bed.
Everywhere the foundation goes, the gel adheres rock hard. So just be smart about the whole thing.
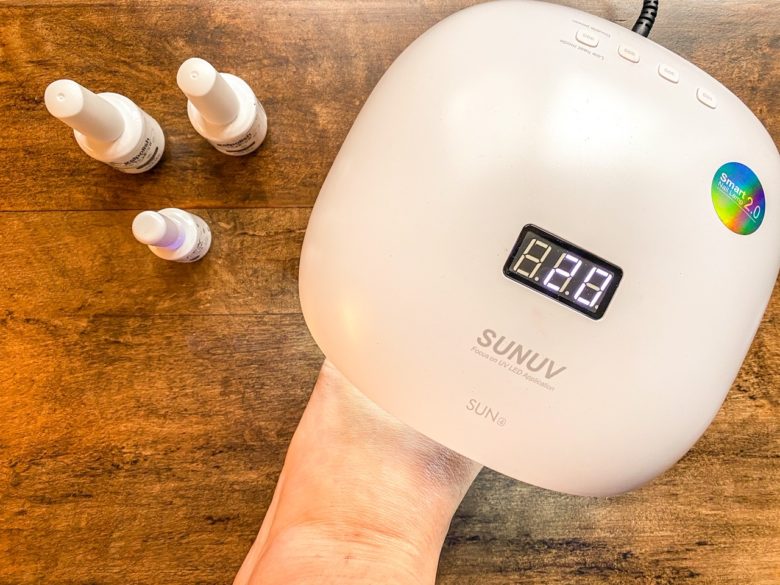
Step 3: Dry under the light for 60 seconds.
Please note, this will still be tacky to the touch, so don’t touch it.
It’s going to remain tacky until you get to the final top coat step, so be careful until then.
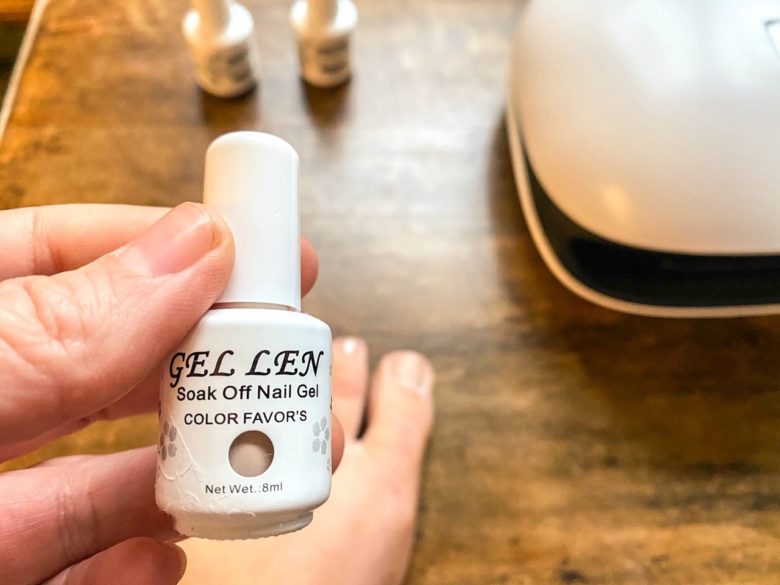
Step 4: Apply Gel Polish
Like traditional nail polish, this often requires two coats.
You’ll simply apply the first coat, dry under the light for 60 seconds.
Then, apply the second coat, and dry under the light for an additional 60 seconds.
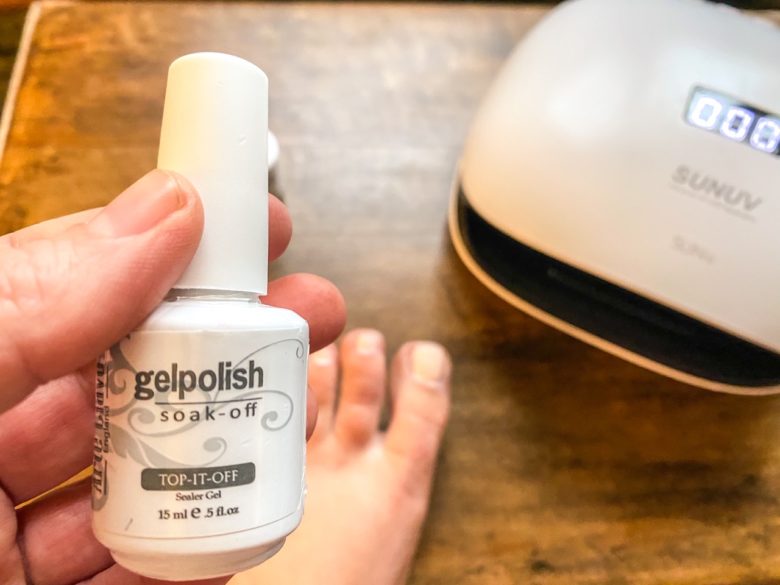
Step 5: Apply Top Coat
This is a little thicker than the foundation and gel polishes, so just make sure you smoothly cover your nail completely.
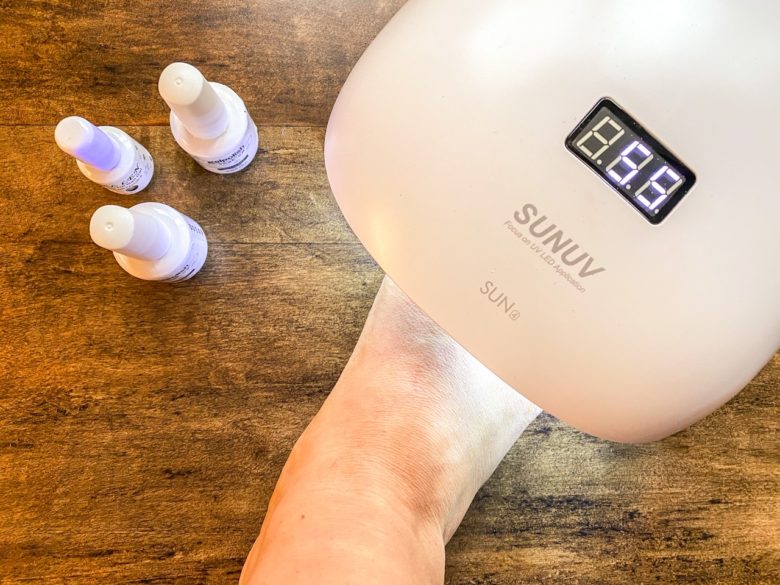
Step 6: Dry Completely
I dry my nails for 120 seconds, and they come out shiny, perfectly, and super hard.
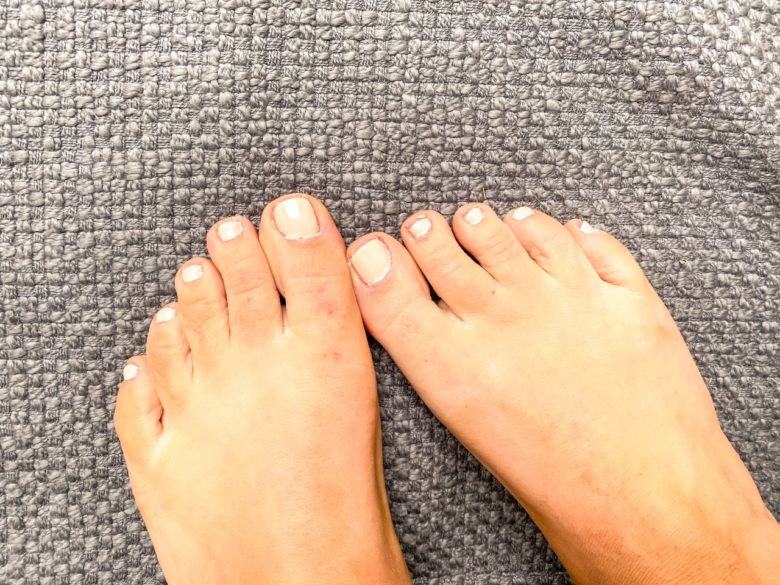
And I won’t need to touch these again until I want to either change the color, or redo them due to nail growth!
So how do I remove gel polish?
Unlike traditional polish, it does not come off with a cotton swab and nail polish remover. It’s a little bit more complicated, let me walk you through it.
How to Remove Gel Polish
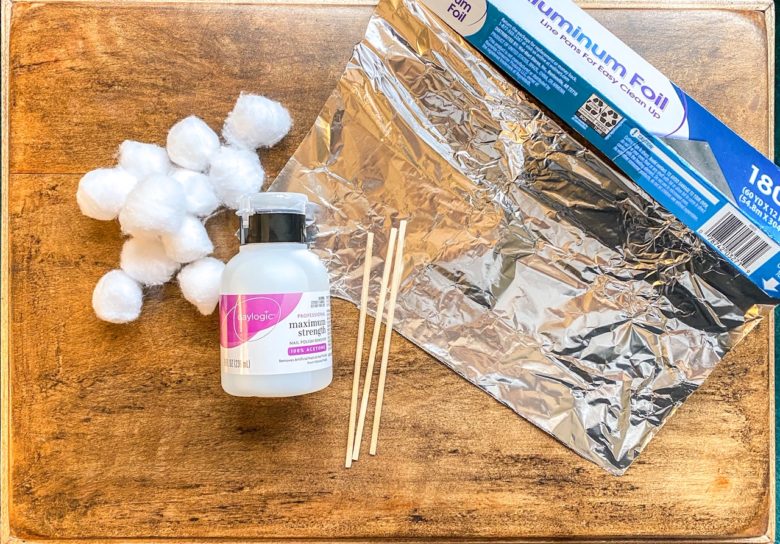
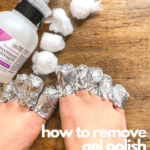
Okay, you are going to need nail polish remover, foil, cotton balls, and one of those orange wood cuticle pusher things.
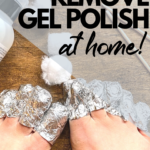
The general idea here is that you’re going to wrap your nail with a soaking cotton ball and tin foil until science happens and your gel police comes off.
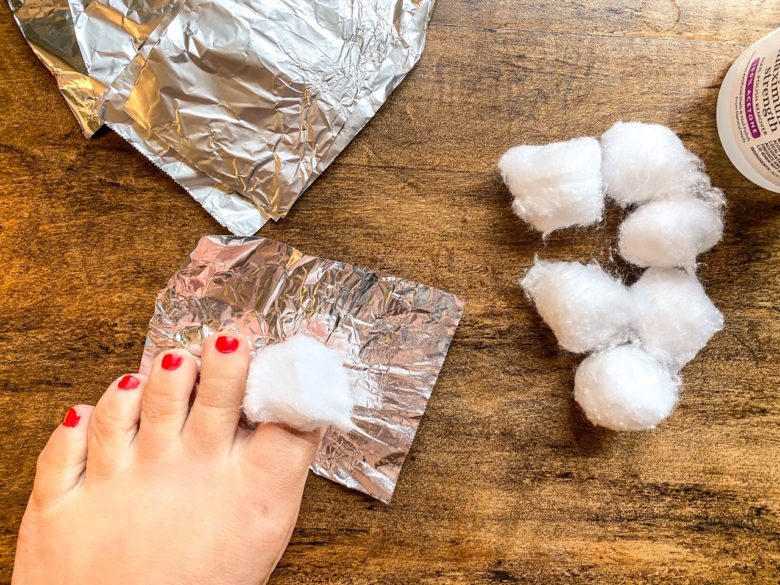
So first, soak a cotton ball in nail polish remover, place it over the nail, and then wrap it in a square of tin foil.
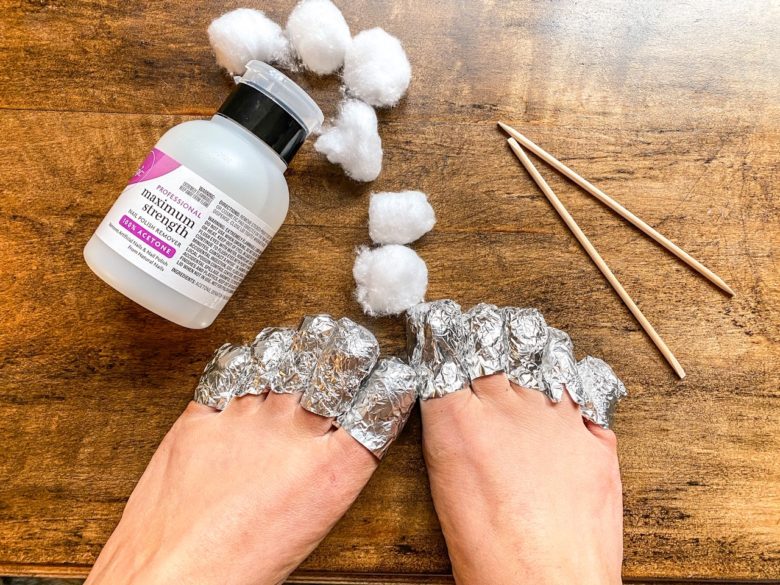
Repeat until all ten (or however many you have) toes are finished, and then let it sit for a minimum of 20 minutes.
Personally, I do 25.
You will look ridiculous. It’s fine.
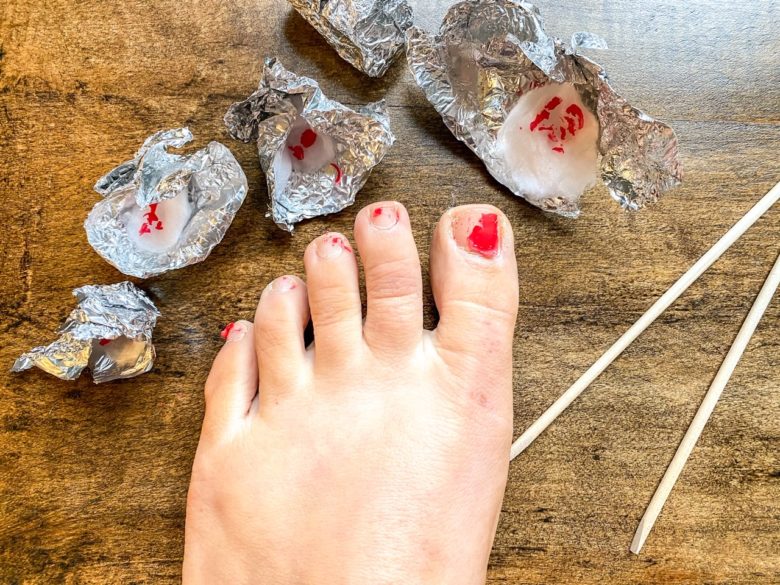
When you take it off, it will look like this.
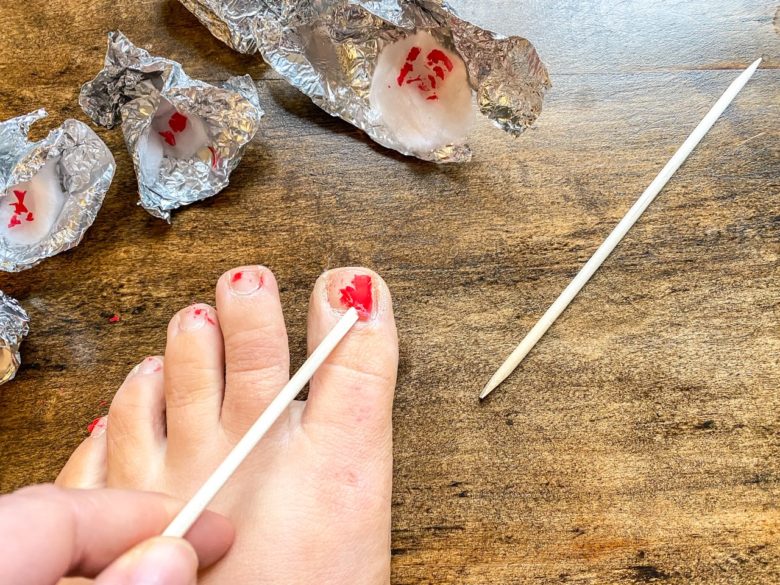
Just use the orange stick and scrape off the rest. It should come of pretty easily.
And then you start the whole gel polish process all over again.

Those links are wonderful!